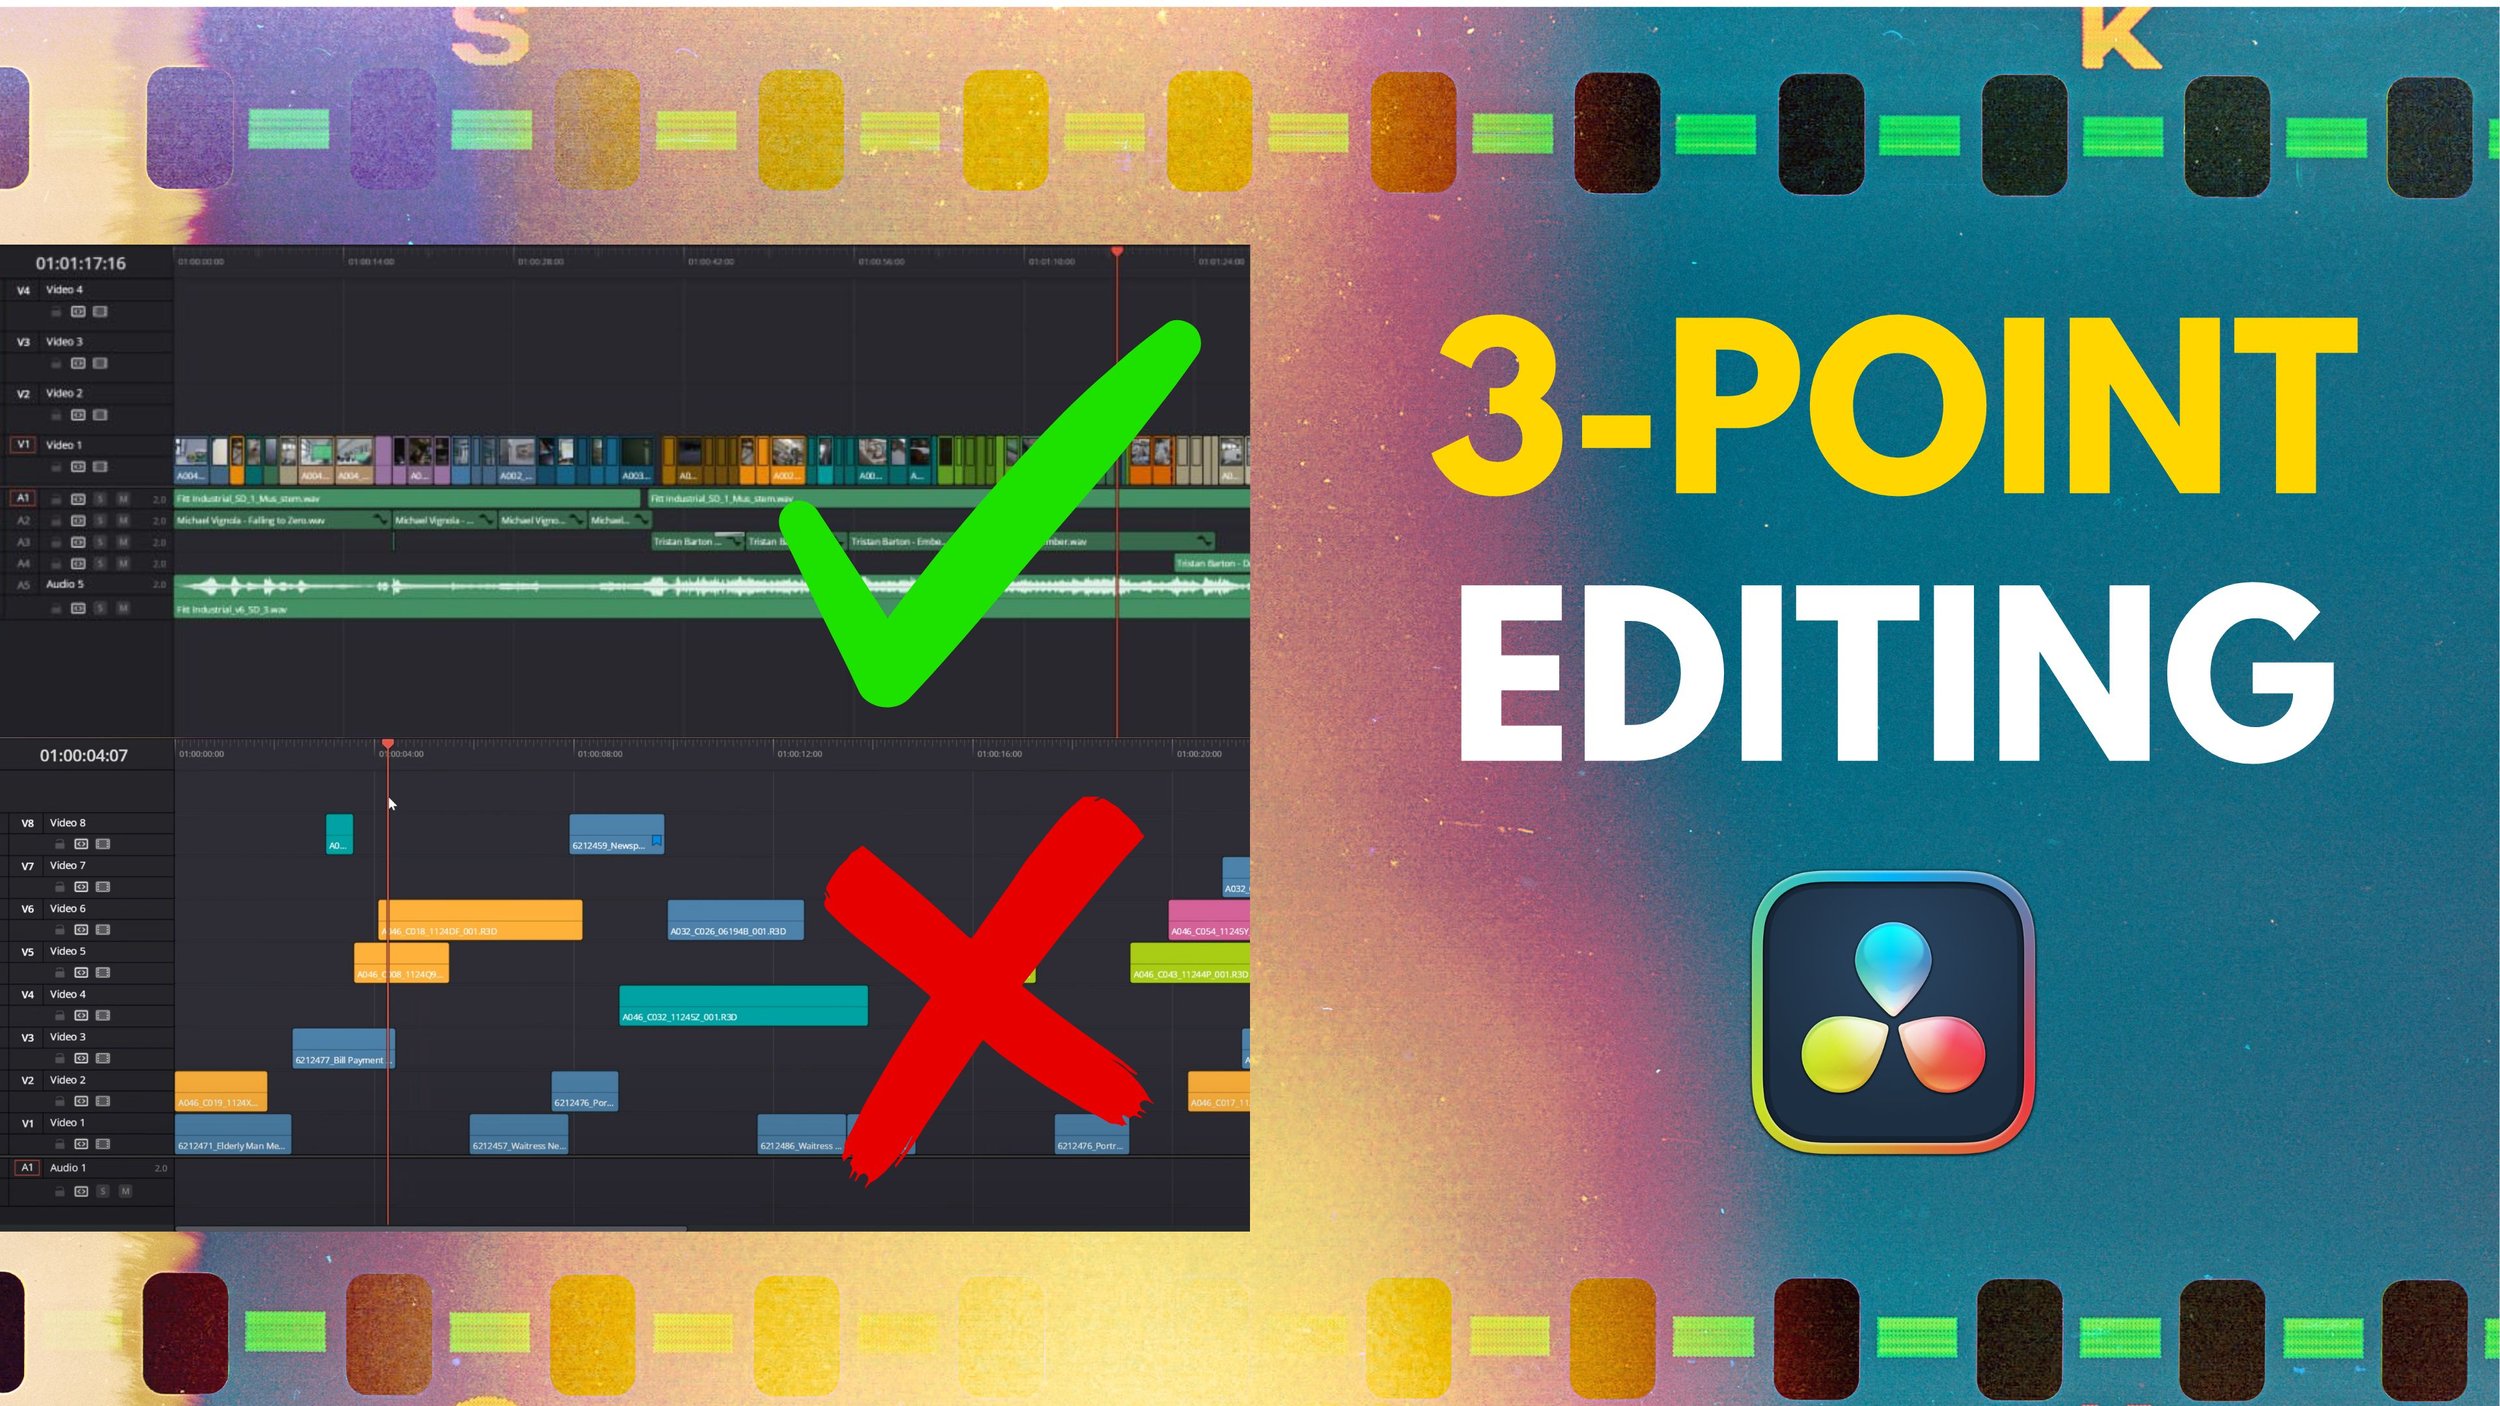
How to use the 3-Point Editing Method in DaVinci Resolve
In the world of non-linear editing, it’s easy to get carried away and end up with timelines stacked high with multiple video tracks. However, a simpler, more organized approach can make your editing process more efficient and precise. In this article, I’ll explain why you should consider editing with just one video track—drawing inspiration from the days of film editing—and how mastering 3-point editing can streamline your workflow.
For a step-by-step demonstration of these editing techniques, check out the YouTube tutorial below, where I walk you through the process in DaVinci Resolve.
Let’s dive in!
The Concept of 3-Point Editing
If you’ve ever seen a cluttered timeline with numerous video tracks stacked on top of each other, you know how confusing it can be. Editing this way can lead to imprecision, with footage scattered across multiple layers. Remember, unlike audio, where you can hear multiple tracks simultaneously, you can only see one video at a time. So, stacking 10 clips doesn’t give you more options; it just creates a mess.
Historically, editing was a linear process—editors would cut and paste film strips together from beginning to end. While this was a limitation, it also forced editors to carefully plan each cut. Today’s software allows for more flexibility, but thinking like a film editor can still benefit your workflow. Let me show you how to do it the right way.
Key Shortcuts for Efficient Editing
Before diving into editing, let's cover some essential shortcuts:
JKL: Use these keys to navigate through your timeline. Press L to play, K to pause, and J to play in reverse. Pressing L or J multiple times will speed up playback, allowing for quicker navigation.
I and O: These keys mark IN and OUT points on your clip or timeline. Located just above JKL, they create a convenient control section on your keyboard. To clear these points, use ALT + I or ALT + O.
Avoid scrolling through clips with the mouse, as it can give an inaccurate sense of timing.
How to Edit: 3-Point Editing
Your first instinct may be to drag a clip directly from the project into your timeline and adjust it with the mouse. Avoid this! It’s time-consuming and imprecise, as you end up subtracting from the timeline what you don’t want instead of adding what you do want. Plus, you might accidentally overwrite clips without noticing.
Instead, double-click the clip to open it in the Clip Viewer. Use JKL to navigate through the clip, and set IN and OUT points as needed. Make sure the red-orange squares next to the tracks are activated, as they indicate where your footage will be placed. Move the timeline cursor to the desired position, then drag the clip from the Clip Viewer to the Timeline Viewer and drop it. The clip will be overwritten at the chosen spot. This approach is known as 3-Point Editing because it relies on three key positions: the IN and OUT points of the clip and the cursor position in the timeline.
There are different ways to arrange these three points. For example, you can set IN and OUT points on the timeline and only an IN point in the clip. The clip will then fill the selected section of the timeline starting from the IN point. Alternatively, you can place IN and OUT points on the timeline and an OUT point in the clip; in this case, the clip will align itself backward to fit between the IN and OUT points on the timeline.
Arranging Clips with Insert and Overwrite
Now that you know how to add clips, let's talk about arranging them. If you drag a clip into the middle of the Timeline Viewer, it will use the Overwrite function, replacing any existing clip in its path. You can also access Overwrite from the right-hand panel. Alternatively, you can drag the clip over to the Insert option, which places the clip between two existing clips, pushing them forward to make space. For quick access, use the shortcuts: F9 for Insert and F10 for Overwrite.
Moving Clips Around the Timeline
To move clips within the timeline while keeping everything in order, drag a clip while pressing CTRL + SHIFT. This allows you to shuffle clips without creating gaps. Be sure to keep Snap enabled by pressing N, as it prevents ghost frames and makes your life easier.
When to Use More Than One Track
You may wonder if there’s ever a need for more than one video track. While I typically work with 3 or 4 tracks, each has a specific purpose:
V1 and A1: Reserved for A Roll, which is any video with synchronized audio—like interviews or real-time events. Placing the video and audio on the same tracks keeps them visually connected.
V2: For B Roll, which includes supplementary footage without synchronized sound, such as cover shots or reenactments.
V3: Reserved for VFX. I place the clip with visual effects above the original, hidden clip. This way, I can always revert to the original if needed.
V4: Used for Graphics. Since graphics often have an alpha channel, they overlay nicely on other videos. If you’re working with graphic designers, place the final version in DaVinci. For those creating graphics in DaVinci, you might need extra tracks.
Conclusion
By editing with a minimal number of tracks and mastering 3-point editing, you can streamline your workflow and keep your timeline organized. Think of your edits as if you were cutting film, and you'll find yourself making more deliberate, precise choices. Try out these techniques, and see how they improve your editing process.


Learn how to use nodes in DaVinci Resolve for professional color grading. This step-by-step tutorial covers serial and parallel nodes, primaries vs. secondaries, LUTs vs. CSTs, and the best node order for consistent, cinematic results.