A Step-by-Step Guide to Multicam Clips Editing in DaVinci Resolve
Editing interviews can be a daunting task, especially for those new to video editing or working with multi-camera setups. The process requires precision, a solid workflow, and an understanding of how to optimize your tools. In this tutorial, I’ll walk you through a streamlined method for syncing, organizing, and editing interviews in DaVinci Resolve, all while working on a single video track. By mastering these steps, you’ll save time and energy while producing professional results.
With years of experience in editing, I’ve developed efficient workflows that make complex editing tasks more approachable. This is the first tutorial in a three-part series, where I’ll teach you how to sync, create multicam clips, and edit multi-camera interviews using just one track.
You can watch the video tutorial here! If you prefer reading, continue below.
Organizing Your Files: The Foundation of Smooth Editing
Before diving into editing, proper organization is essential. Start by importing your files and arranging them into a clear folder structure. My recommended setup for folders looks like this:
FILES > VIDEO > DAY 01 > 101 Interview (Interviewee Name)
Place all interview files from your cameras and the corresponding audio recording into this folder. Staying organized ensures you can easily locate and manage your assets throughout the project.
To learn more about my naming conventions, check out my Essential Tips video on DaVinci Resolve here.
Avoiding Common Syncing Mistakes
When syncing audio and video, it’s tempting to use DaVinci Resolve's “Auto Align Clips” function or manually align clips in a timeline. However, these approaches have significant drawbacks:
First, you’ll end up using multiple tracks for the same content. Each camera feed will occupy a separate track, forcing you to repeat every cut across all tracks—a time-consuming process that increases the likelihood of errors.
Second, you’re going to inherit audio and video sync issues coming from the camera or from physics. Many cameras process clips with slight delays between recorded audio and video due to internal processing times. Additionally, audio recorded far from the subject will naturally lag, as sound travels at 343 meters per second—significantly slower than light. Watch the video to see a clear example of it!
To ensure perfect sync and maintain a clean editing workflow, you’ll need a more precise method.
Placing Sync Points for Perfect Alignment
The best way to sync files is by using a sync point, such as a clapperboard or other distinct visual and audio markers. Here’s how:
Locate the Sync Point
Open the audio file, listen for the take number, and identify the slate’s audio spike. Use the arrow keys to pinpoint the exact frame and place an IN point.
Match with Video
Check the slate’s number in the video file and locate the first frame where the slate's sticks touch. Place another IN point here.
If you don’t have a clapperboard, use a clear visual cue like hand claps. Repeat this process for all files, ensuring every clip is ready for synchronization.
Creating Multiclips for Seamless Editing
With your sync points set, follow these steps to create a multicam clip:
Select the audio file(s) and all camera angles for the same take.
Right-click and choose "Create New Multicam Using Selected Clips."
Name the clip clearly, e.g., "INT_IntervieweeName_Take01_Multicam."
Set "IN" as the sync method, then click Create.
This will generate a single multicam clip containing all your synced files. Double-click it to verify that everything is perfectly aligned.
Editing Interviews with a One-Track Workflow
Now it’s time to start editing:
Create a New Timeline
Name it using clear conventions, such as "Client_ProjectName_v1_InterviewSelection."Select the Best Parts
Listen to the interview, placing IN and OUT points on the parts you want to include. Drag these clips into your timeline to build the rough cut.Switch Camera Angles
To change angles, right-click the clip in the timeline, hover over "Switch Multicam Clip Angle," and select the desired camera view. This keeps everything synced while offering creative flexibility.
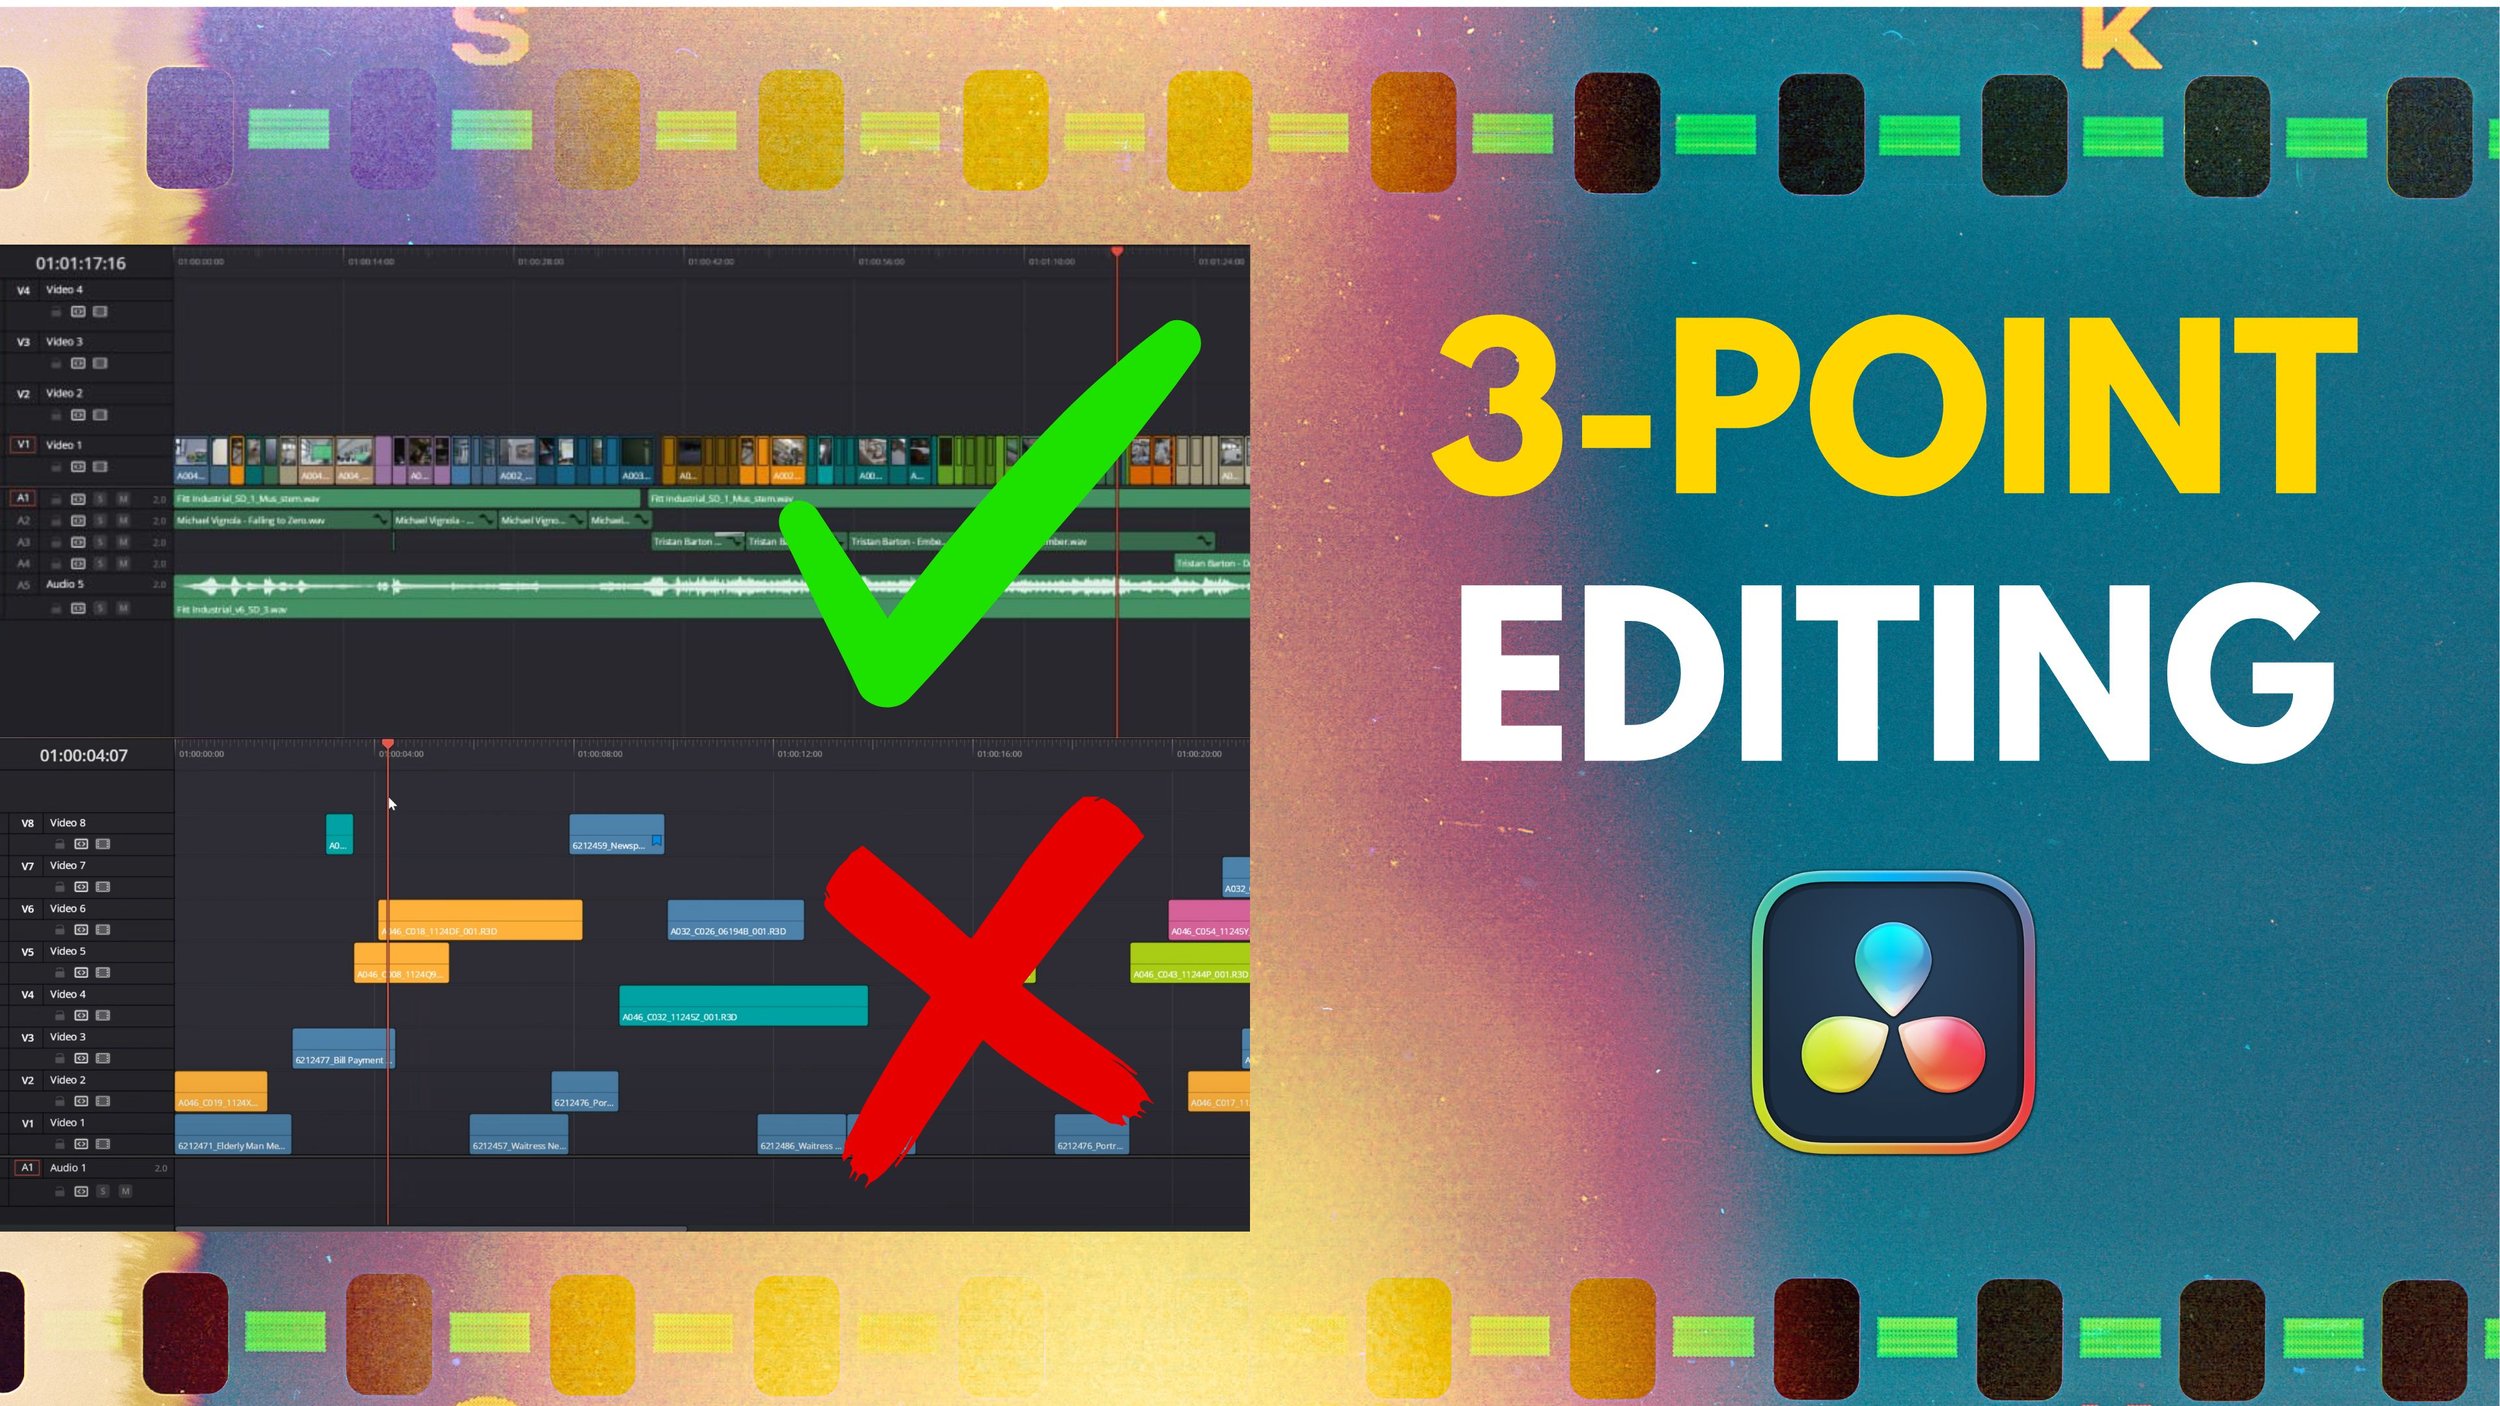
To know more about why and how to edit in a single track, here’s my other tutorial on the 3-Point Editing Method.
Switching Audio and Video Angles
In most interviews, the only audio track you’ll need is the one from your external recorder. In your Multicam Clip, this audio will typically be an angle without a video track. Here’s how to manage it efficiently:
Once you’ve finished editing, select all the audio clips in the timeline. Then, right-click on them, hover over Switch Multicam Angle, and choose the angle that contains the audio recorder files—in my case, that’s Angle 1.
You can also switch video angles using the same technique. Right-click on the clip you want to switch, select the correct angle, and the entire clip will switch while maintaining sync.
Additionally, you can pre-select audio and video angles in the project bin to ensure your edits automatically use the correct tracks. To do this, right-click on the Multicam Clip in the project bin, then choose the audio and video angles under Switch Multicam Audio Angle and Switch Multicam Video Angle. This allows you to select the two angles separately.
However, note that this selection is not permanent and will reset if you click on any of the windows in the Multicam Clip within the Clip Viewer. To edit without affecting these settings, use the shortcuts F9 for Insert and F10 for Overwrite.
Conclusion and What’s Next
With these steps, you’ve learned how to organize, sync, and edit interviews efficiently in DaVinci Resolve using a one-track workflow. This method not only saves time but also ensures a clean, professional timeline that’s easy to manage.
In the next part of this series, I’ll delve into selecting audio bites, cleaning up the interview, and creating a polished final product. Stay tuned!


Learn how to use nodes in DaVinci Resolve for professional color grading. This step-by-step tutorial covers serial and parallel nodes, primaries vs. secondaries, LUTs vs. CSTs, and the best node order for consistent, cinematic results.